Quick Start Guide
This article guides you through the essential steps and best practices that you should take to leverage the capabilities of the Brinqa Platform. Figure 1 illustrates the main steps:

Figure 1. End-to-end process of using the Brinqa Platform
1.) Preparations
System Administrators manage secure access to the Brinqa Platform by configuring security policies, multi-factor authentication, creating users, and assigning roles. System administrators are responsible for ensuring that all Brinqa users have appropriate access to the necessary features and data. Figure 2 illustrates the sequence of steps in preparing your Brinqa Platform for use by yourself and other Brinqa users:
-e0d5bb5e9b8fbc38a0469fd775cf5ab4.png)
Figure 2. Manage user and roles
Configure single sign-on
Before you can begin ingesting data, you must configure secure access to your Brinqa Platform. This involves whitelisting a select group of core users' external IP addresses for local authentication, and collaborating with your single sign-on (SSO) provider to obtain metadata files (sp.xml and idp.xml).
- For additional information on SSO configuration, see Configure secure access to Brinqa.
Create users and assign roles
System Administrators can create new user accounts by providing details such as the username, email address, and the user's first and last name. After you have created a user, the system automatically sends an email to the new user prompting them to set a unique and secure password at their initial login.
System Administrators are also responsible for assigning the appropriate roles to users. In the Brinqa Platform, roles determine a user's access level or permissions. Use caution when assigning roles; roles with more permissions might allow users to alter important settings or view data that they shouldn't have access to.
-
For additional information on the different methods in which you can create users and assign roles, see User Access Management.
-
For additional information on access controls and permissions, see Create an ownership cluster to grant access control.
Define security policies
System Administrators in the Brinqa Platform are responsible for defining password, account lockout, session, and multi-factor authentication policies for Brinqa users.
- For additional information on password policies, user account policies, and general security policies, see Security Policies.
2.) Bring data into Brinqa
With users created, roles assigned, and users able to log in to the Brinqa Platform, you can start populating your Brinqa Platform with data. Figure 3 demonstrates the steps for successfully bringing data into your Brinqa Platform:
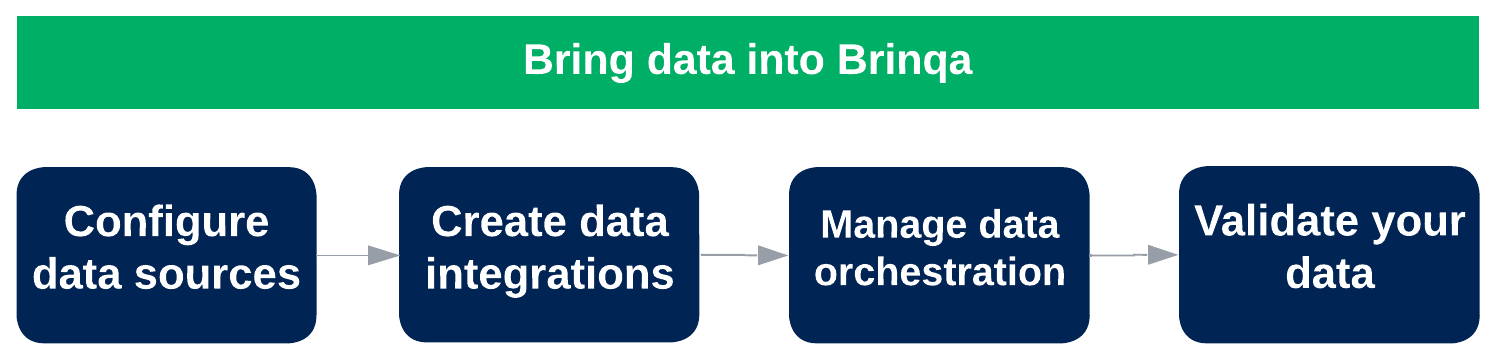
Figure 3. Bring data into Brinqa
Configure data sources
The first step in bringing data into your Brinqa Platform is to configure your data sources. This involves installing connectors and creating data integrations with those connectors.
-
Install your connectors: Connectors are the bridge between your data sources and the Brinqa Platform. The selection and installation of connectors largely depend on your specific data sources. As you prepare to install connectors, consider the following options based on your data sources:
-
If the corresponding connectors for your data sources are available in the Connector Store, install them as needed.
-
If the matching connector for your data source is not available, explore the possibility of using the SQL or CSV connector.
- This flexibility is important because it ensures that you can integrate your data into the Brinqa Platform without being limited by the availability of specific connectors. For example, the SQL connector allows you to directly import data from a SQL database, while the CSV connector lets you import data from a CSV file. Both options can help ensure that all of your relevant data is accessible.
-
For additional information on connectors, see individual connector documentation.
-
-
Use Brinqa Connect to import custom data: If there is not a suitable built-in connector available in the connector store, you can use Brinqa Connect to import custom data. Brinqa Connect is a resource that Brinqa provides for you to send custom, unstructured data to the Brinqa Platform using the Brinqa Connect API. The API provides ingress and egress capabilities along with encryption-at-rest to protect your data.
- For additional information on Brinqa Connect, see Brinqa Connect.
-
Configure Brinqa Agent for restricted access sources: Some data sources might reside behind firewalls or in other environments that Brinqa cannot directly access. This is particularly important if your server is being hosted on-premises, stored and managed within your company's physical infrastructure such as a local server or network. In such cases, you can use the Brinqa Agent to establish a secure and high-performance gateway between your servers and the Brinqa Platform.
- For additional information on the Brinqa Agent, see Data Servers and Brinqa Agents.
Create your data integrations
After installing the necessary connectors, you can start creating data integrations to bring in your data. Data integrations determine what data you're bringing into the Brinqa Platform and ensure that the data retrieved by the connector maps to the appropriate data model.
- For instructions on how to create data integrations, see Data Integration.
Manage data orchestration
Once your data has been imported into the Brinqa Platform, the next step is to ensure that the data is appropriately consolidated and computed. Data orchestration is a sequence of flows that performs data integration, consolidation, computation, and assigned automations to get your data ready for searching and graphing. Data orchestration collects, organizes, and standardizes your data from all sources to provide a consolidated view of the data imported into the Brinqa Platform.
While data orchestration is set by default to run once a day, the frequency can be adjusted to best suit your organization's needs and available resources. It can be configured to run multiple times a day, on selected days of the week or month, or even off schedule, where it is run manually. The time and system resources required for data orchestration depend on the number and scope of your configured integrations.
-
For additional information on data orchestrations, see data orchestration.
-
For information on data consolidation and mappings, see data consolidation.
Validate your data
Data validation is the process of ensuring that the data imported from your various sources align with the data displayed in your Brinqa Platform. Data validation is a critical step in maintaining the accuracy and consistency of your data. It involves comparing record counts and specific data points between the source data and the Brinqa Platform to confirm that they align.
- For detailed steps on how to validate your data, see data validation.
3.) Assess risks and monitor SLAs
In the effort to contextualize your organization's risk management, you can enrich raw data, making it meaningful and relatable to your organization by applying and configuring various key parameters. Among these are clusters, risk factors, risk scoring models, and service-level agreements (SLA). This section delves into these actions, providing a guide on how you can effectively perform these tasks within the Brinqa Platform.
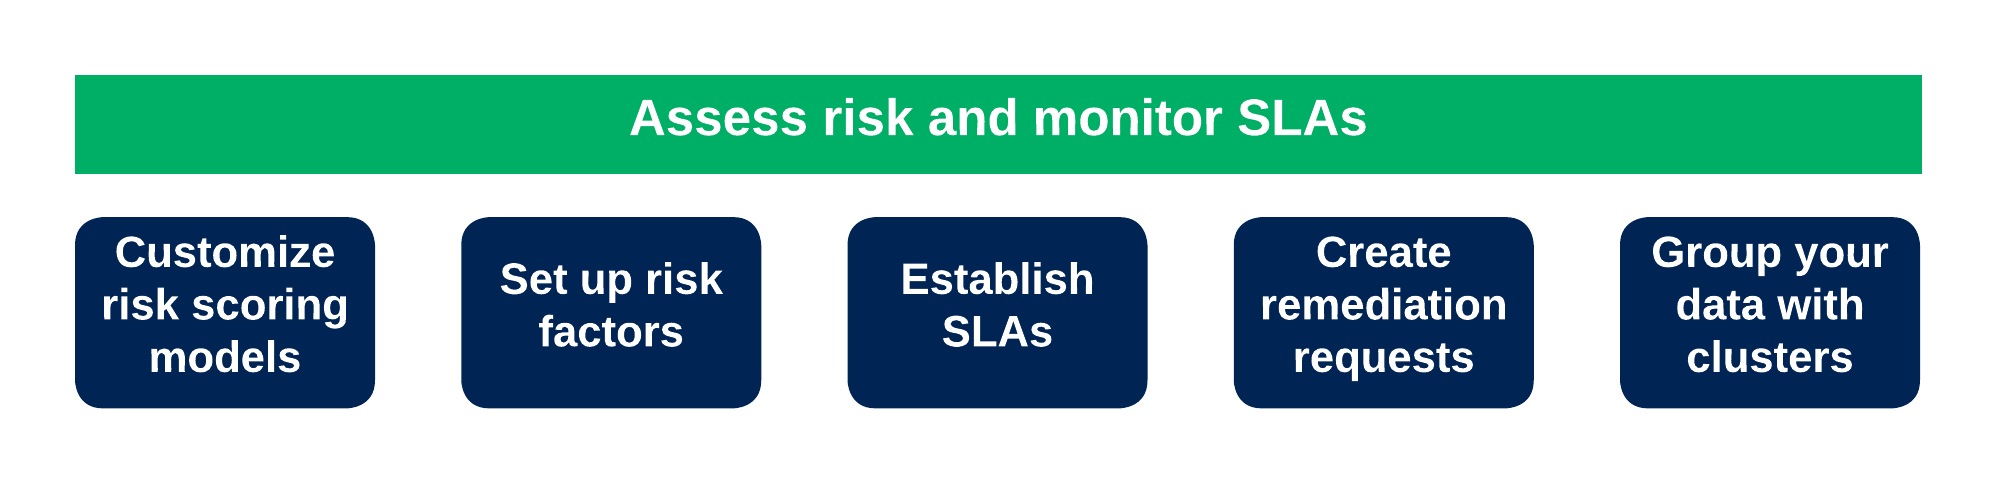
Figure 4. Risks and SLAs
While Brinqa applies pre-configured risk scores, risk factors, and SLA to your data, you can modify these default values and features.
Customize risk scoring models
You can leverage the customization options provided by Brinqa to modify the default risk scoring models or even create new models entirely. This flexibility lets you incorporate additional risk factors and conditions that align with your organization's unique risk profiles.
These modifications can directly influence how base risk scores, risk scores, and risk ratings are calculated for vulnerabilities that meet specific conditions. Such customization not only lets you accurately prioritize vulnerabilities and assets but also helps enable informed decision-making and targeted remediation strategies.
- For additional information on risk scores, see risk scoring.
Set up risk factors
You can use risk factors to provide additional context to your organization's assets and findings. Elements that can contribute to a risk factor include asset criticality, business impact, threat intelligence, vulnerability age, exploit availability, and more. By configuring risk factors in the Brinqa Platform, you can tailor the risk assessment to align with your organization's specific risk profiles and priorities.
- For additional information on prioritizing your data, see risk factors.
Establish SLAs
You can create and modify SLAs to ensure that vulnerabilities are dealt with promptly to reduce the possibility of exploitation of your assets. SLAs are used to establish response times and due dates for incidents, tickets, or issues based on their severity or priority. Establishing appropriate SLAs can keep your organization's remediation process streamlined and efficient.
- For additional information on SLAs, see Service-level agreements.
Create remediation requests
You can manage exceptions within the vulnerability management process. There might be instances when resolving a risk or vulnerability is not immediately possible, and an remediation request can be made to deviate from the standard remediation process for a known vulnerability. Exceptions are typically granted when the vulnerability is a false positive, when implementing the mitigation requires more time, or when remediation of the vulnerability is deemed infeasible.
You can create remediation requests to track and manage said exceptions. You can select the relevant findings and create requests for time-based extensions, false positives, or risk acceptance. This process can aid in prioritizing vulnerabilities and accelerate the remediation process.
- For additional information, see Remediation requests.
Group your data with clusters
You can categorize and group your data by using clusters. Clusters are automated groupings of data based on attributes such as asset or vulnerability type, operating system, and compliance status. This enables more focused analysis and reporting by providing insights into specific categories, rather than considering the data as a whole.
Clustering is an automated process that occurs after data has been imported and consolidated in Brinqa. Unlike manual tagging, where tags or labels are assigned to individual items before importing, clustering organizes data based on its attributes. Once clusters have been established, they dynamically update as data changes, ensuring accurate and relevant grouping over time. In the Brinqa Platform, clusters can be used to group assets, findings, or users based on specified criteria.
-
For additional information, see Clusters.
-
For additional information on how to cluster your assets by their environment, see Group assets based on their environment.
-
For additional information on how to cluster your assets by their device type, see Group assets based on their device type.
4.) Assign risk and remediation ownership
After you have enhanced your data, you can assign ownership to vulnerabilities within the Brinqa Platform. Assigning risk and remediation owners can help establish accountability and ensure that the right individuals are responsible for taking action on specific vulnerabilities. In the Brinqa Platform, ownership clusters provide a mechanism for access control and enable you to assign ownership to datasets, such as findings and remediation requests.
- For additional information on assigning vulnerability and risk ownership, see Create an ownership cluster to grant access control.
5.) Generate and assign tickets
With your data imported, validated, and enhanced, you can then use automation to generate and assign tickets to the appropriate individuals or teams for remediation in response to security incidents or vulnerabilities.
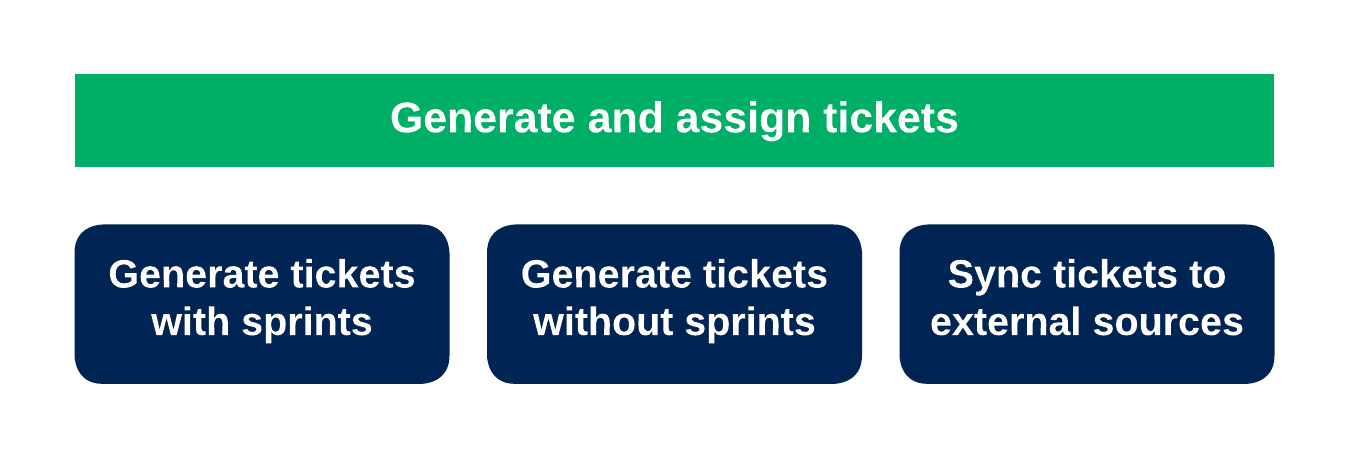
Figure 5. Ticketing
The Brinqa Platform contains an automation feature that lets you streamline and simplify the ticket creation process that is typically performed manually. Automation lets you focus on more critical activities so you spend less time configuring settings and more time analyzing your data to ensure your organization's cybersecurity posture. Brinqa comes with pre-configured automations that cover several different use cases. Brinqa also provides you with the tools necessary to create your own automations.
-
For additional information on automations, see Automation overview.
-
For additional information on how to generate tickets, see Generate tickets without sprints and Generate tickets with sprints.
-
For additional information on how to sync tickets between Brinqa and Jira, see Synchronize tickets with external sources.
6.) Create dashboards and track analytics
You can create versatile and insightful dashboards with Brinqa's dashboard-building tools. These tools translate critical datasets into intuitive visuals and comprehensive analytics tailored to each data source. Additionally, you can use visualizations to further enrich your analytics, providing a clear and concise way to display important trends and patterns within your environment. Last but not least, you can use custom views to adjust the presentation of your analytics and data.
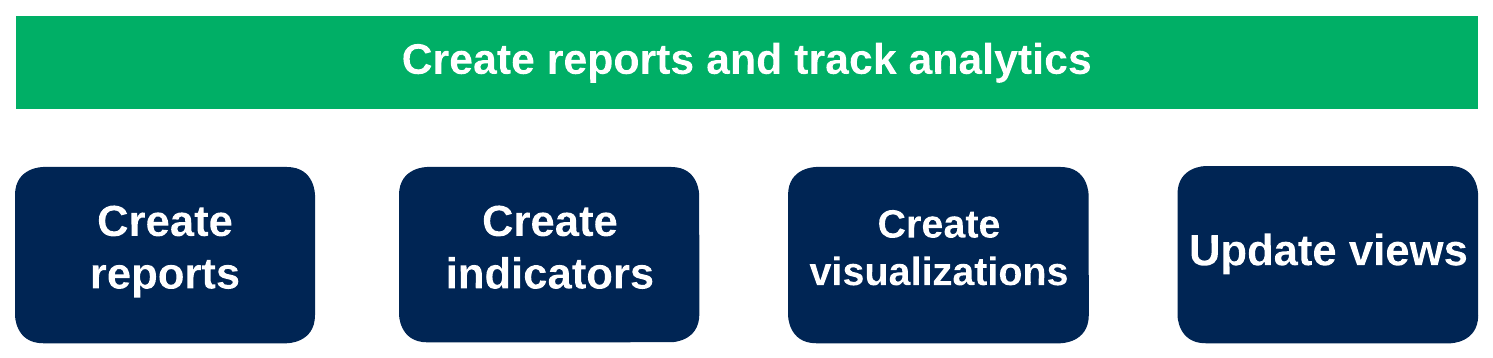
Figure 6. Dashboards and analytics
-
For additional information on dashboards, see Dashboards overview.
-
For additional information on adding graphs and charts to dashboards, see Dashboard sections.
-
For a detailed tutorial on how to put together comprehensive dashboards, see Build a custom dashboard.
-
For additional information on updating and creating new views, see Customize views.
-
For additional information on creating visualizations, see Visualizations.