Updated Dashboard Builder in 11.32
In Brinqa Platform version 11.32, a redesigned dashboard builder was introduced to support the Snapshot dashboard to PDF functionality, using a rows and columns structure. This article explains how to use the new dashboard builder to create a dashboard, add a section to a dashboard, and configure the rows and columns structure.
Rows and columns
The new dashboard builder introduced in version 11.32 uses a rows and columns structure. This layout was designed to support the Snapshot dashboard to PDF functionality, enabling more precise control over how dashboard sections are arranged and printed.
- Each dashboard can contain more than one row or column.
- Each row can contain one or more columns.
- Each column can contain one or more sections (such as a chart, table, single value, or text block).
You can add, remove, and rearrange rows and columns as needed. Layout changes are simplified due to the drag-and-drop support and automatic resizing. When you add a new column to a row, any existing sections automatically adjust their width to maintain an even distribution. No manual resizing is required. Compared to the previous dashboard builder, this new structure streamlines layout editing and helps ensure that your sections remain consistently aligned when snapshotted to PDF. Aside from the new row and column design and export settings, the rest of the dashboard creation process remains the same.
The following example showcases how rows and columns can be rearranged, with sections automatically resizing to maintain a consistent layout.
Create a new dashboard
While the majority of the dashboard creation process remains unchanged in Brinqa Platform version 11.32, there are some new settings to be aware of when creating a new dashboard. Specifically, the Export settings to support Snapshotting a dashboard to PDF.
To create a new dashboard, follow these steps:
-
Navigate to Analytics > Dashboards.
-
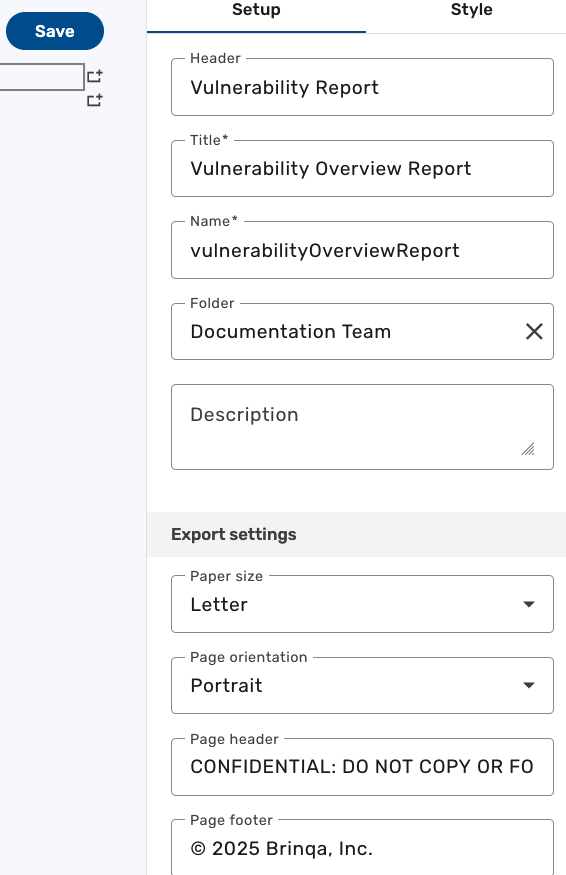
Click Create, and in the Setup tab, fill in the following information:
-
Header: The header of the dashboard. The header appears at the top of the specific dashboard page.
-
Title: The title of your dashboard. The title is displayed on the Dashboards list view.
-
Name: The referenced name of the dashboard for queries and scripts. The system fills in the name as you type the title, removing any spaces or characters that are not allowed. You do not need to edit this field.
-
Folder: The folder to which you want to assign the dashboard. You can create a new folder or select an existing one. If you do not select a folder, the dashboard appears in the "Not in a folder" section in the left navigation menu. For additional information, see dashboard folders.
-
Description: The description of the dashboard. The description is displayed on the dashboard list view and can be searched using the search bar.
-
-
Configure the follow export settings as needed:
-
Paper size: Click the dropdown and select the desired paper size. Options include: Letter, Legal, A5, A4, A3, A2, A1, or A0. The default setting is Letter.
-
Page orientation: Click the dropdown and select how you want the dashboard to appear in the PDF. Options include: Portrait or Landscape. THe default setting is Portrait.
-
Page header: Text shown at the top of each PDF page. Useful for white labeling or confidentiality notices. Example: "CONFIDENTIAL: DO NOT COPY OR FORWARD". The default setting is no page header.
-
Page footer: Text shown at the bottom of each PDF page. Often used for team names or legal disclaimers. Example: "© 2025 Brinqa, Inc." The default setting is no page footer.
tipBy default, charts are not split across pages. If a chart does not fit on the current page, it is moved to the next page. Tables, however, can span across multiple pages, and column headers are repeated on each new page.
-
-
Click Save. The page reloads and your new dashboard appears.
Add a section to a dashboard
After creating a dashboard, you can add dashboard sections using the new rows and columns structure. To do so, follow these steps:
-
Navigate to Analytics > Dashboards.
-
Click the dashboard you want to add a section to, click Edit,
-
If you are adding a section to a blank dashboard, you may see a blank row at the very top of the dashboard. Click that row to select it. A toolbar appears to the right of the row. You have a few options:
-
Remove row: Deletes the selected row from the dashboard.
-
Edit source code: Opens the JSON source for the selected row.
-
Clone row: Creates a copy of the row.
-
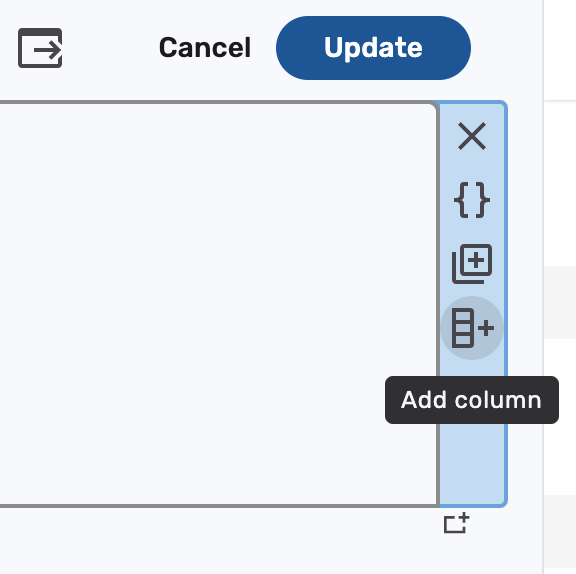
Add column: Adds a new column to the selected row.
-
-
Another toolbar appears at the top of the row with these options:
-
Remove column: Deletes the selected column from the dashboard.
-
Edit source code: Opens the JSON source for the selected column.
-
Clone column: Creates a copy of the column.
-
Add section: Adds a new section to the selected column.
-
-
Click Add section.
The available sections appear. Click the section you want to add to the dashboard.

-
Configure the section as needed. For additional information, see Configure dashboard sections and Customize section appearance.
-
Click Update.
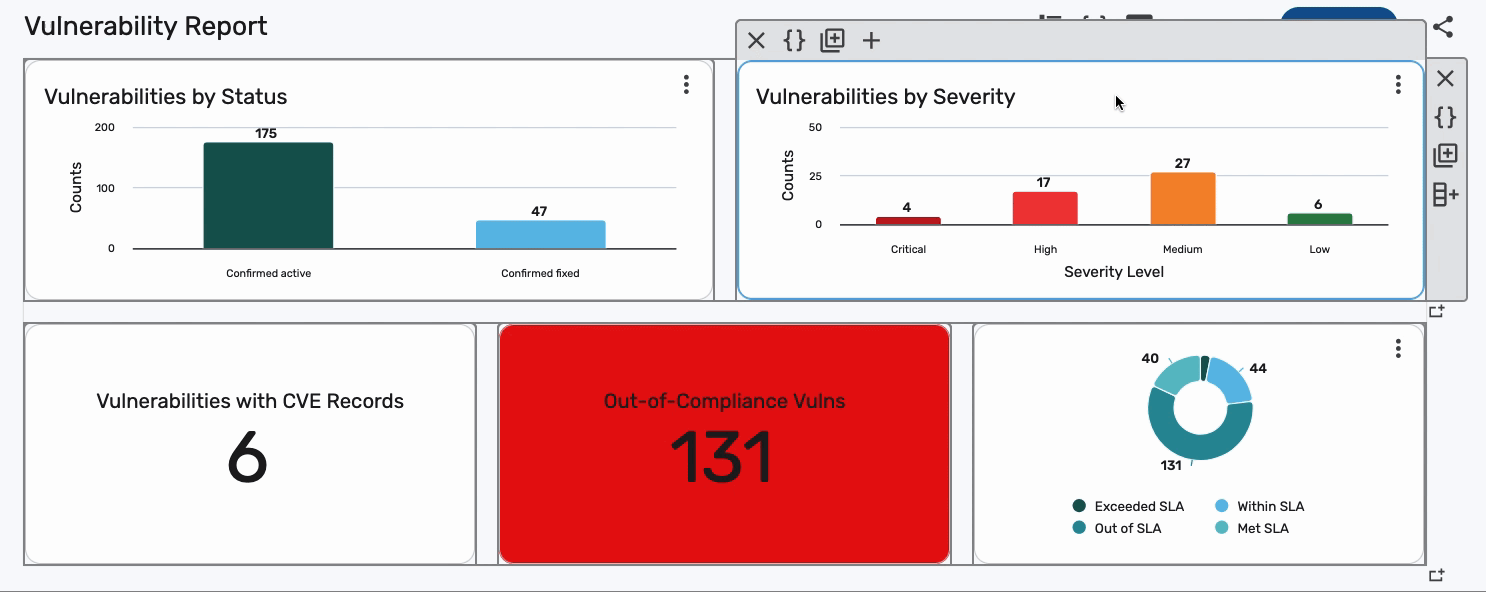
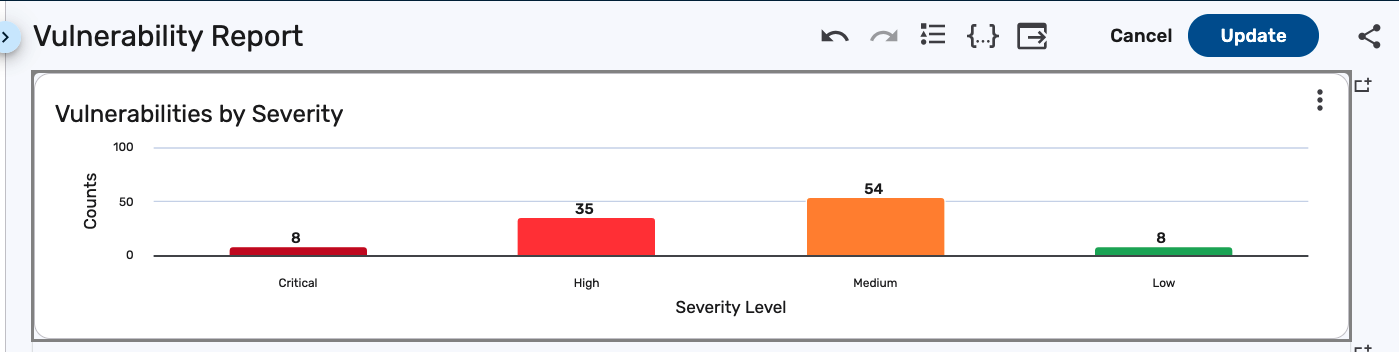
As shown in the following screenshot, the new section, in this example, a Column chart, appears in the row:
Add additional columns to a row
Columns enable you to add more than one section to a row. To add a column to a row, follow these steps:
-
Navigate to Analytics > Dashboards.
-
Click the dashboard you want to add a column to, then click Edit.
-
Click the row you want to add a column to, and then click Add column on the toolbar.
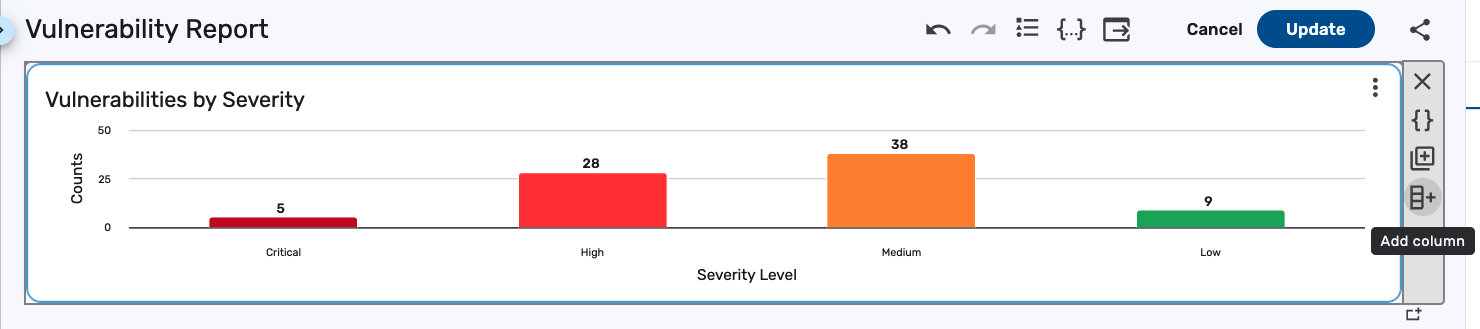
A new column appears in the row, in which you can add another section. The builder automatically distributes space across columns, eliminating the need for manual adjustments:
In the following screenshot, another Column chart has been added to the row in the example dashboard from the Add a section to a dashboard steps:
Add additional rows to a dashboard
Rows are the top-level layout element in a dashboard. You must add at least one row before you can add columns or sections. Rows also include layout options such as page break controls and the ability to hide content from PDF snapshots. To add a row to a dashboard, follow these steps:
-
Navigate to Analytics > Dashboards.
-
Click the dashboard you want to add a row to, then click Edit.
-
Click the Add row
 button at the bottom-right corner of the row.
A new row appears below the existing one:
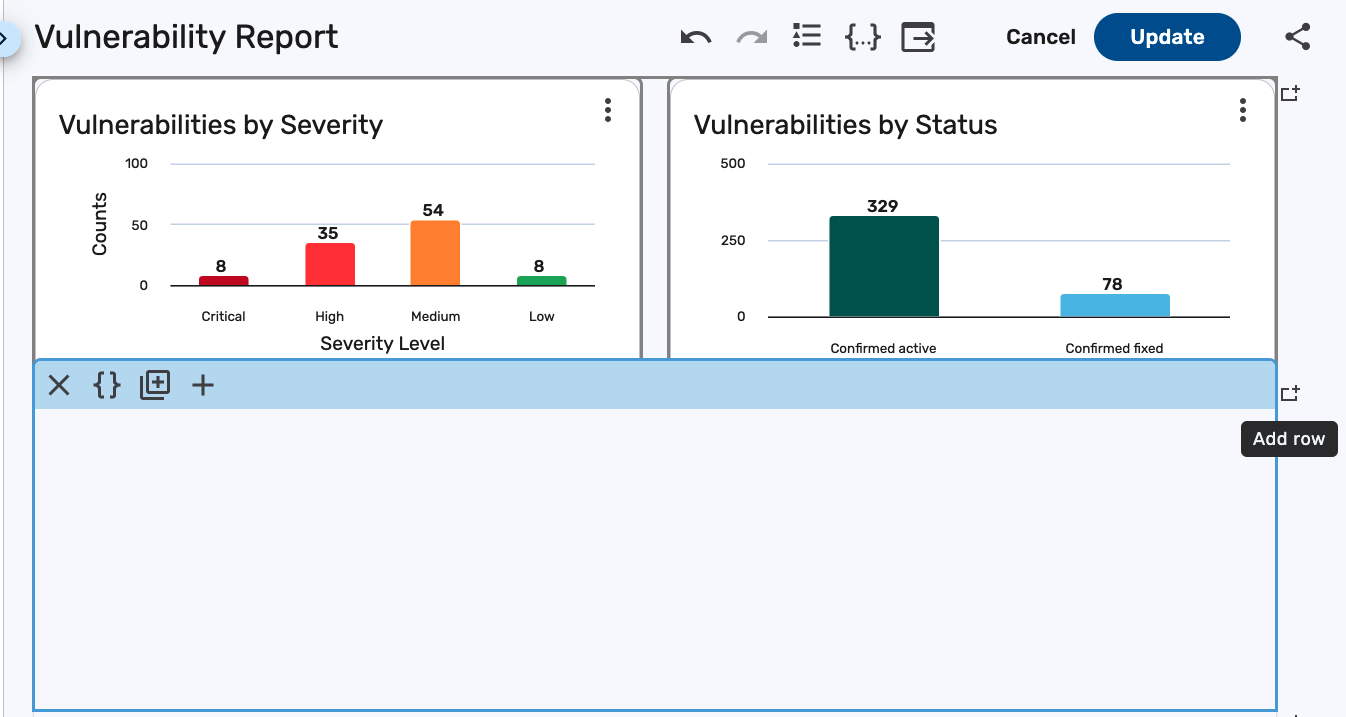
-
Repeat the steps as needed in the Add a section steps to add columns and sections to the new row.
-
Click Update.
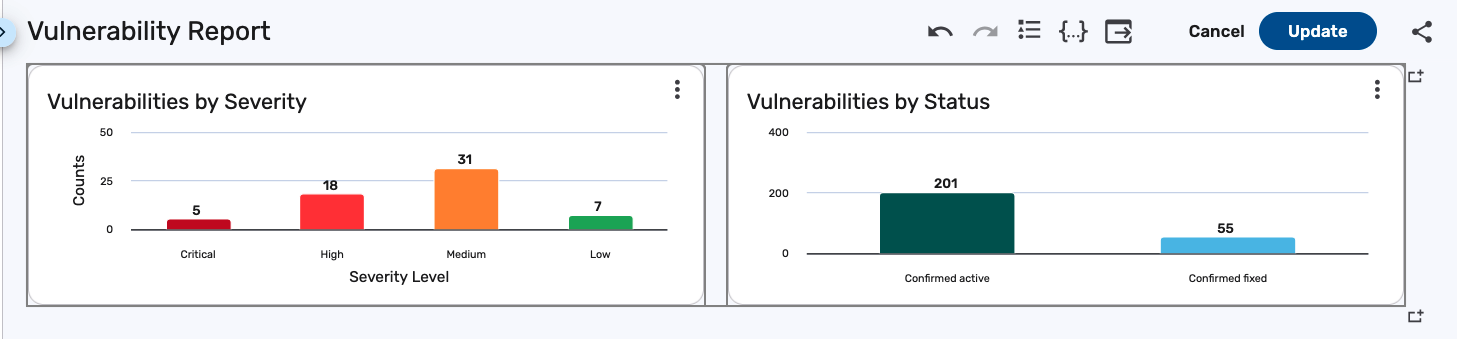
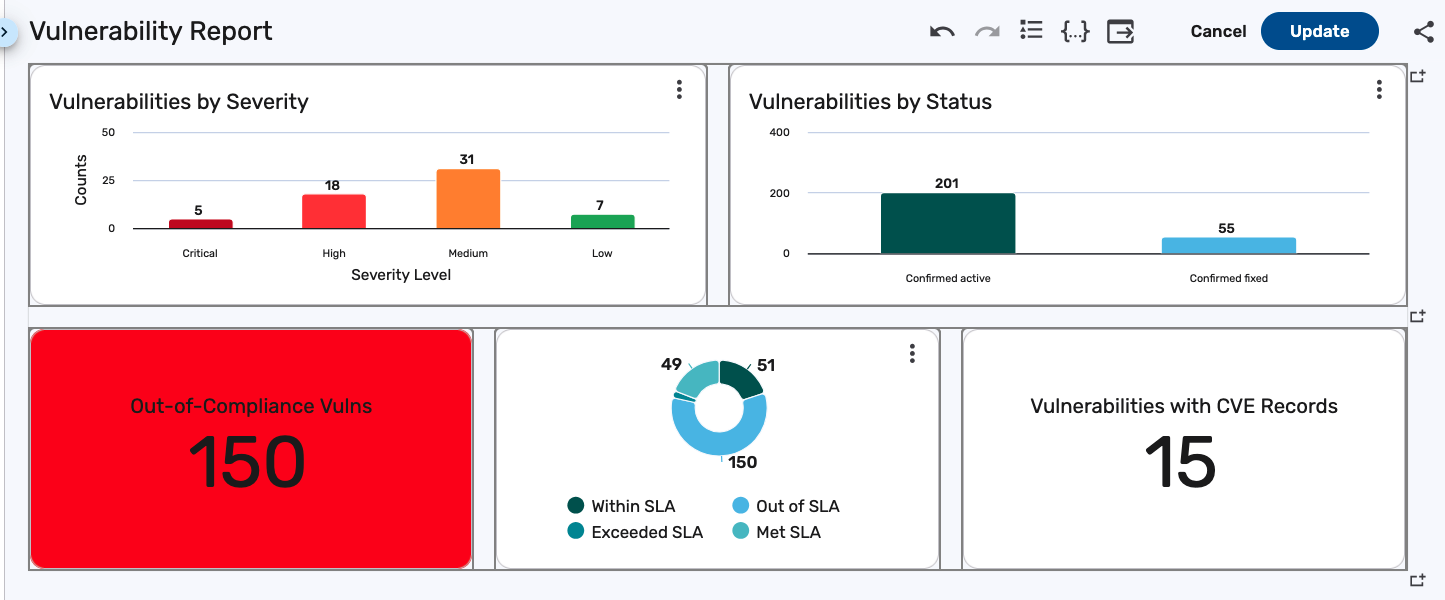
The following screenshot shows the example dashboard from the Add a section to a dashboard steps, now with a new row containing additional columns and sections:
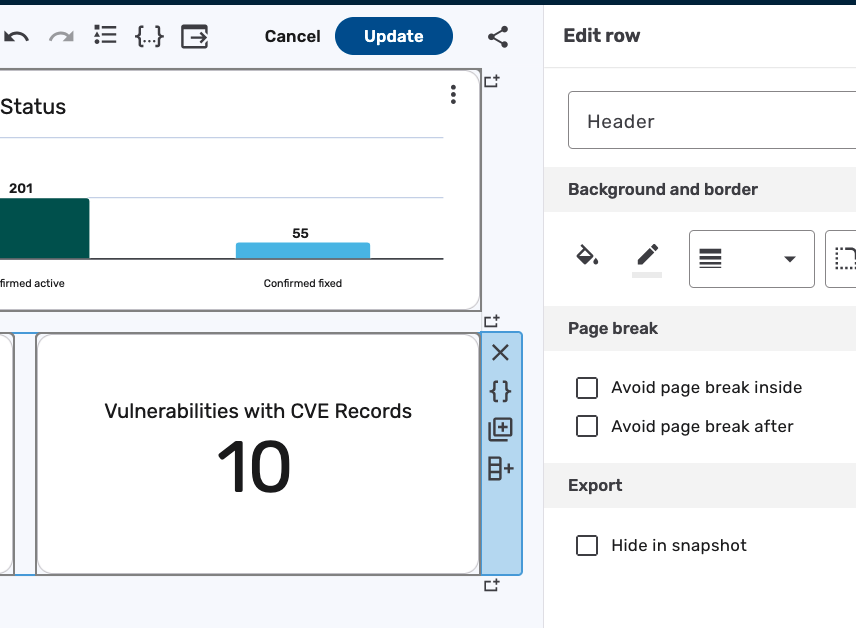
Configure page breaks and hide sections from snapshots
The new row and column structure gives you control over how your dashboards appear when exported to PDF. Specifically, you can configure page breaks on rows and hide specific rows or columns from appearing in export snapshots.
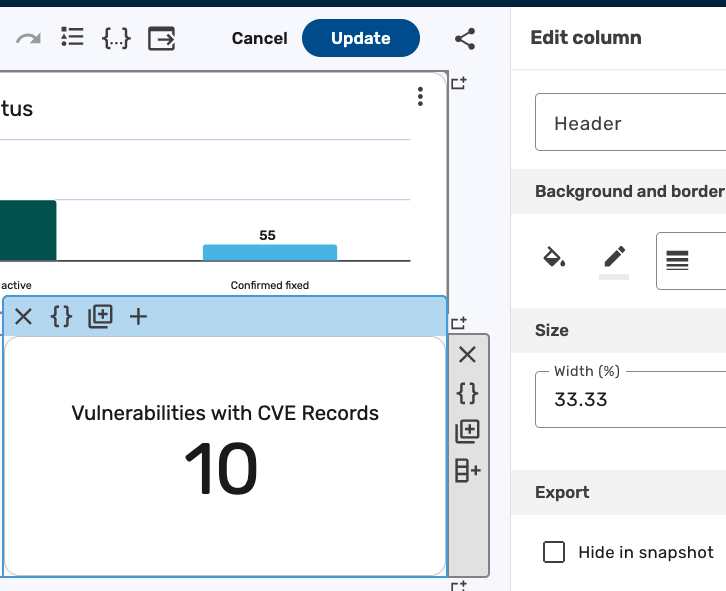
To access these settings, click the row or column to display the toolbar, and then click the toolbar itself. The Edit column or Edit row panel appears on the right side of the screen. The following settings are available:
-
Page breaks: Available only at the row level.
-
Avoid page break inside: Prevents the row’s content from being split across two pages. This is useful for large tables or charts that should appear fully on a single page rather than being cut in half by a page break.
-
Avoid page break after: Keeps the next row from starting on a new page. This is useful when a page break would otherwise separate a section heading from its content, allowing you to force the heading to stay with the following section on the next page.
-
-
Hide in snapshot: Available at both the row and column level. You can use this setting to exclude rows or columns from PDF snapshots.